Mach 1 Center Gauge Conversion to Newer Style Modern VDO Gauges
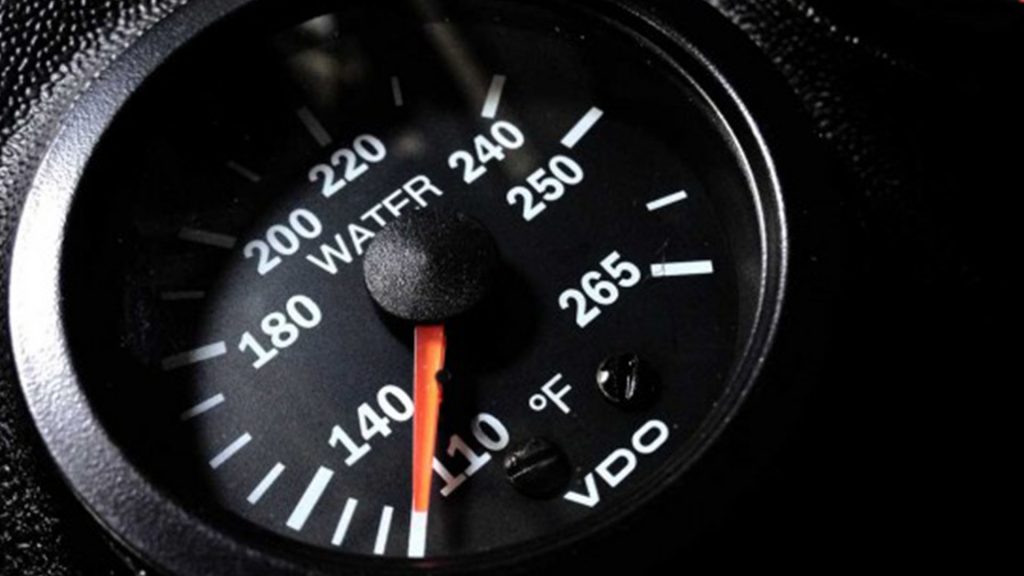
Well after long hard thought of determining the best course of action for the Mach 1′s gauge dilemma, I decided to convert the existing center gauge pod to accept more traditional newer technology gauges. I am running with the VDO brand primarily because they match the existing Speedometer instrumentation and the bezels are shallow and do not stick […]
Restoring The Gauge Cluster in 71 72 73 Mustang Fastback
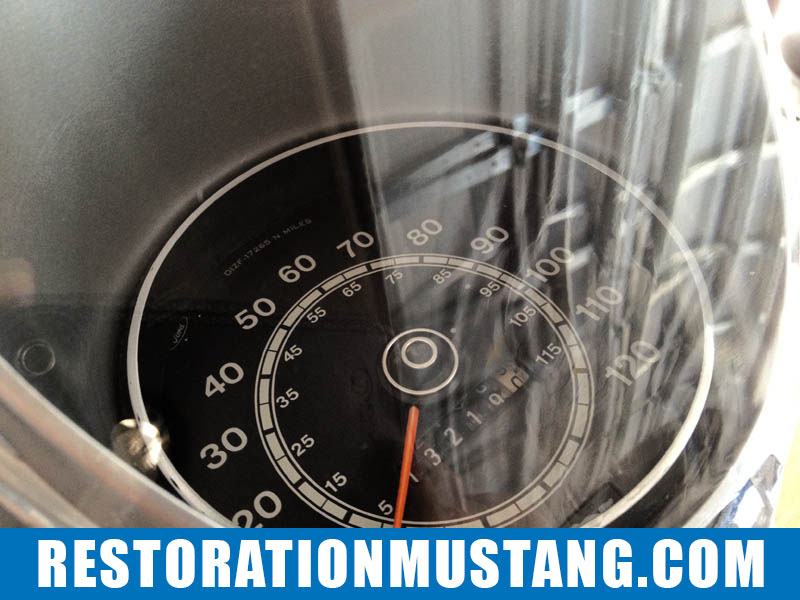
This week I decided to give the speedometer/tachometer cluster a fresh new look. These gauge bezels are hard to come by, so I was able to spruce this one up with a can of silver spray paint and some cleanup rags. Check out the photos below.
Bringing some life back into the shifter mounting cup | 71 72 73 Mustang
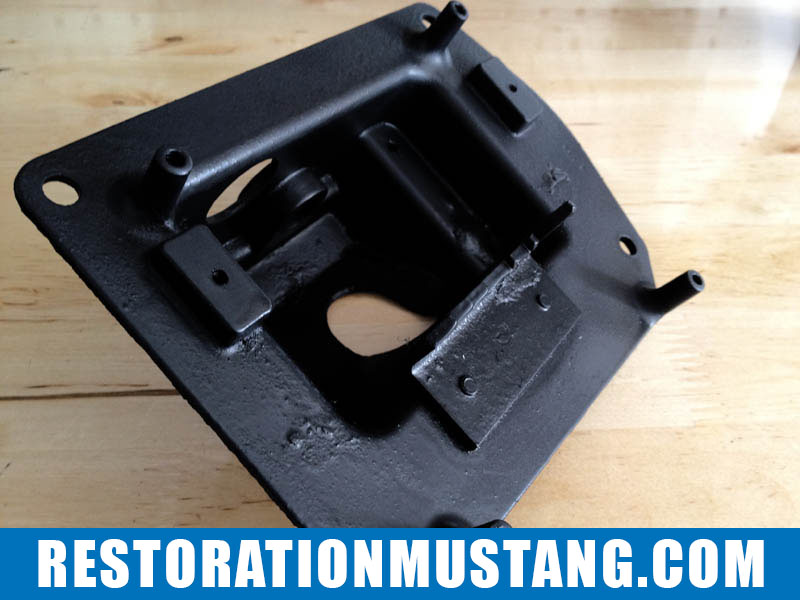
Bringing some life back into the shifter mounting cup | 71 72 73 Mustang. Here is a quick little post on the shifter mounting cup restoration (paint). Fearful of the possibility of being able to see this mounting cup, I decided to clean it up and give it a fresh coat of flat black paint. […]
Mustang Fastback A Pillar Trim Arrives 71 72 73 Pillar Post
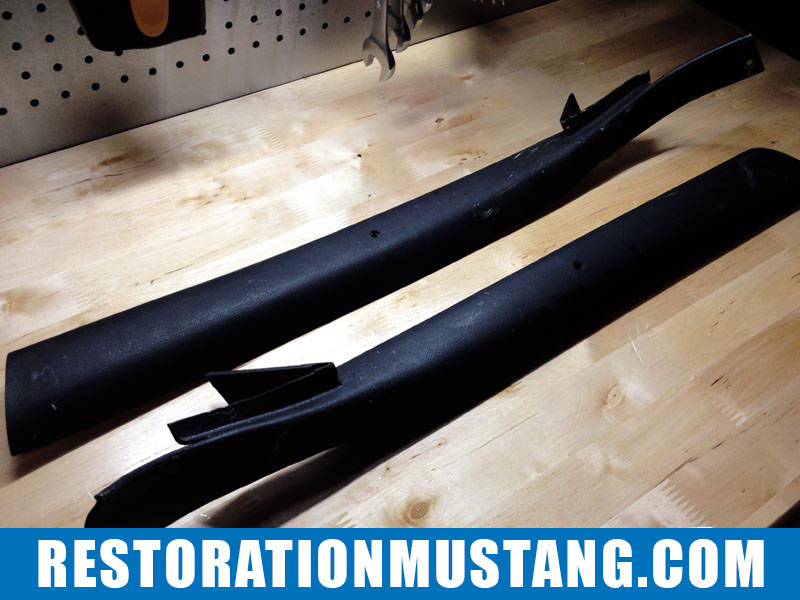
Mustang Fastback A Pillar Trim Arrives 71 72 73 Pillar Post. Quite possibly one of the hardest parts to find for the interior of the 71-73 Mustang is the “A” Pillar posts. These are not re-manufactured as of yet. I am very happy to say that my pair has finally arrived! I purchased them from […]
Head light switch bezel retaining nut and washer | Fitting a 70 mustang switch bezel on a 71 72 or 73 Ford Mustang
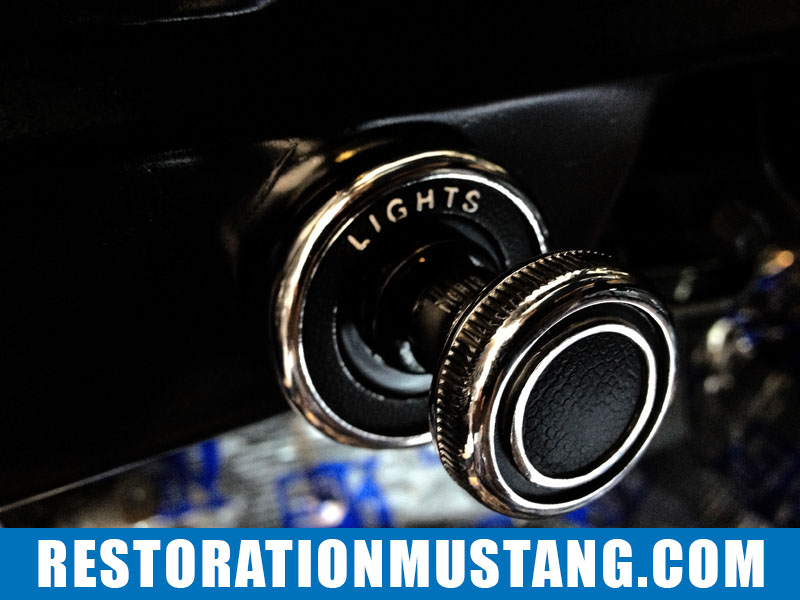
Headlight switch bezel retaining nut and washer | Fitting a 70 mustang switch bezel on a 71 72 or 73 Ford Mustang. This seems to be a topic affecting a lot of fellow Mustang restorers out there. Currently, the aftermarket does not remanufacture switch bezels for the 71-73 Mustangs. The do however make them for the […]
Installing Wiper Switch Bezel 71 72 73 Mustang
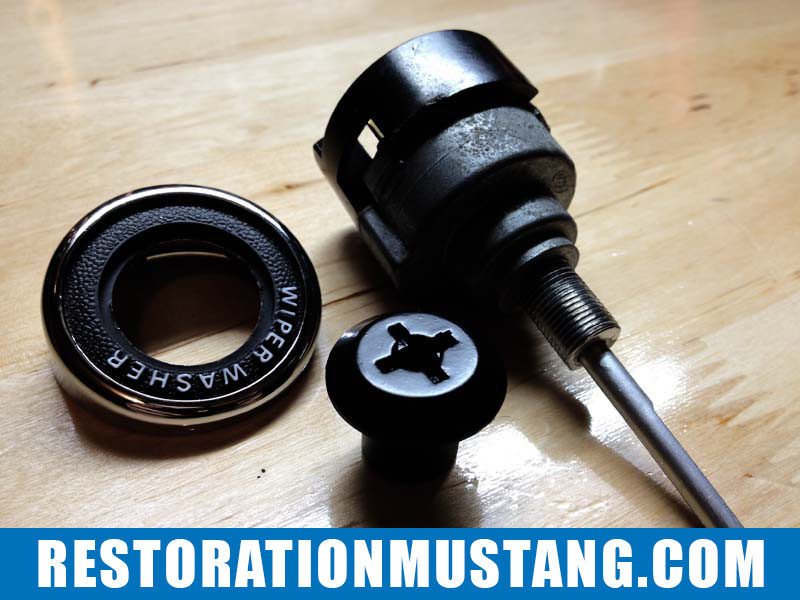
Installing Wiper Switch Bezel 71 72 73 Mustang. To the best of my knowledge, the aftermarket does not specifically manufacture the dash bezel trim for the 71-73 Mustang. Instead, they manufacture it for a 1970 model. The bezels you see on my website are specifically for the 70 Mustang, but they will work on a […]
Bringing back the appearance of chrome to the A/C vents
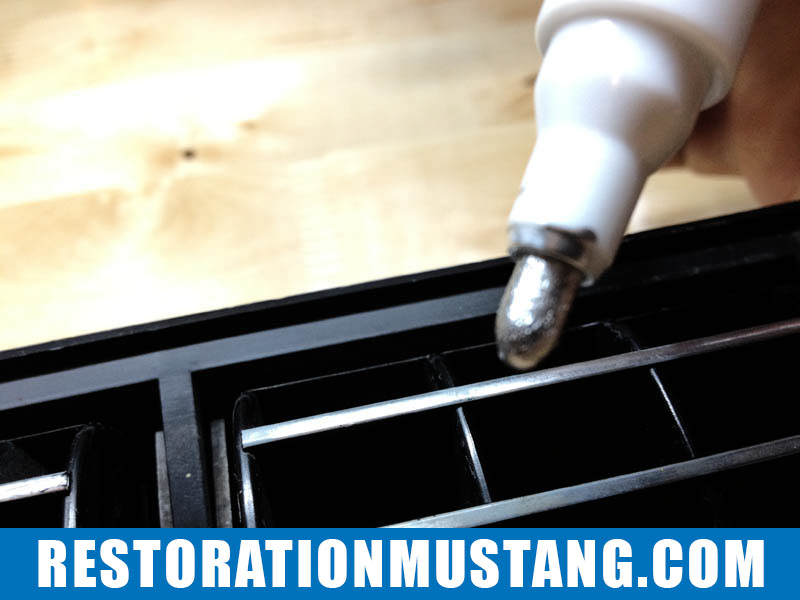
Bringing back the appearance of chrome to the A/C vents. A few weeks ago I saw a friend do a post on his YouTube channel showing how to revive a dashboard panel with a $5.00 paint pen. You can see Tyler’s video here. I have to give credit to “whosaidtyler” for this tip. Anyhoo… I ordered […]
Air Conditioning Heater Control Switch Assembly 71 72 73 Classic Ford Mustang
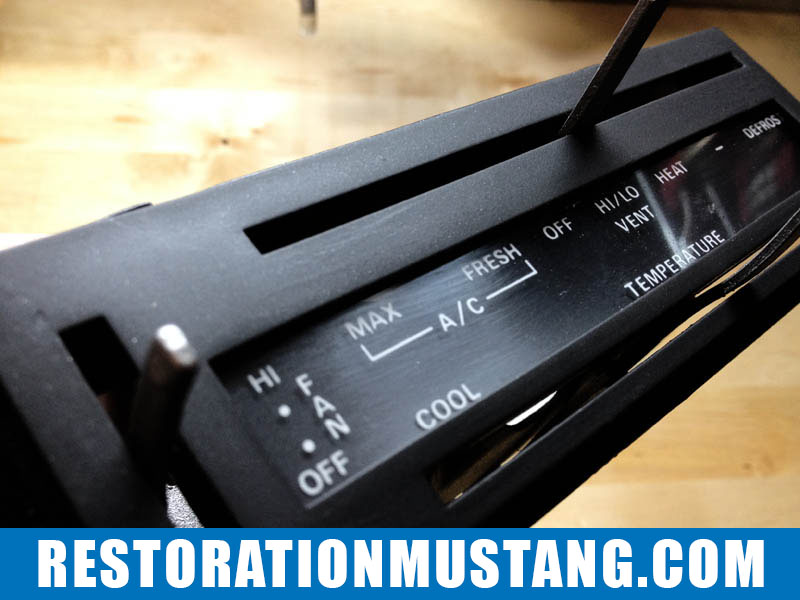
Air Conditioning Heater Control Switch Anatomy 71 72 73 Classic Ford Mustang. Today I am restoring and cleaning up the old air conditioning controls. These controls are very common in earlier Ford vehicles and tend to bind up and become corroded. In my restoration, I fully disassembled the unit and cleaned, sanded, and painted the […]